
INSTRUCTIONS
1. Remove the bolts from the pedal access door on the back of the game. Set door aside. See figure 1
2. Remove the bolts from the sides of the seat lid and floor.
3. Unlock and tilt back seat. Lift out floor and set aside.
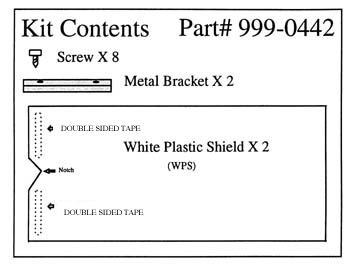
4. Remove backing from the double sided tape on white plastic shield (WPS).
5. Slide WPS under pedal assembly towards back of game. Notch toward the pedal access door.
6. Working from pedal access door, slide WPS over cleat and in the slot under brace. Make sure pedal assembly wires go through the notch in the WPS. See Figure 2.
7. Secure WPS with pressure to set tape and then secure with the four screws provided. See Figure 3.
8. Install metal bracket on game power supply under WPS. Remove the two screws along the side on the top of the power supply. Position bracket over screw holes and reinstall screws. The bracket keeps the WPS from covering the power supply exhaust fan.
9. Locate and reinstall floor and secure with bolts. Lock seat into place and secure with bolts.
10. Locate and reinstall pedal access door and secure with bolts.
INSTALLATION IS NOW COMPLETE
If you have any questions please call SEGA TECHNICAL SERVICE @ (415)-802-1750 or (650)-802-1750